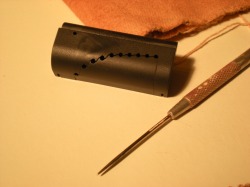
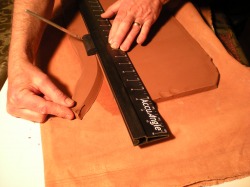
The AccuAngle is designed to use with any long needle tool. The holes in the sliding cutter are preset at specific angles. The lowest hole #3 cuts a 30 degree angle. See the list below for other angle options.
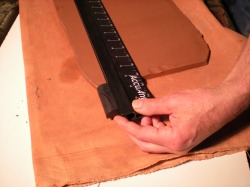
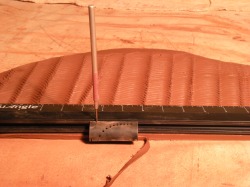
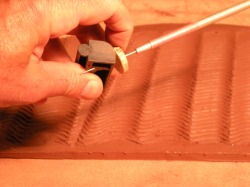
With the ruler resting on top of the clay slab insert the sliding cutter into the ruler. Position the sliding cutter just beyond the edge of the slab.
Insert the needle tool into the desired angle hole and allow the tip of the tool to rest lightly on the cutting surface.
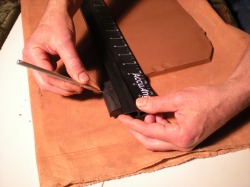
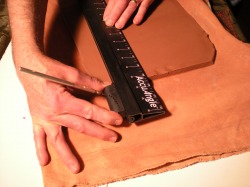
Grasp the cutting slider at either end using the thumb and index finger. Pull the cutting slider toward you. (If the slider does not pull easily then lift the needle tool slightly so that the tip of the needle does not dig into the cutting surface)
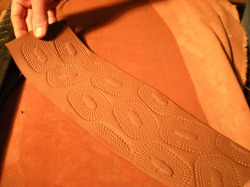
The resulting bevel cut is clean and straight.
Bevels can be cut from the finisihed /exterior side of the clay slab or from the unfinished / interior side.
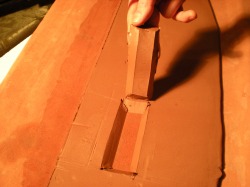
AccuAngle also makes it possible to cut beveled openings on the interior of a clay slab.
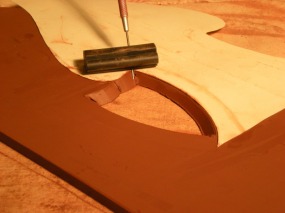
With the help of a heavy paper or cardboard template AccuAngle can cut beveled curves
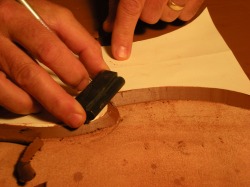
on the interior or the outside edges of a slab. The sliding cutter is removed from the ruler and placed on the surface of the template. Insert the needle tool at the desired angle. Keep the needle tool pulled tight to the edge of the template and pull along the template edge.
The AccuAngle makes reinforcing seams easy. Opposing 45 degree angles creates a perfect 90 degree reinforcing strip for the rectangular corner. (see below)

One of my favorite uses of the AccuAngle is to create blind seams by cutting partial bevels on the unfinished side of the clay. This allows me to make a folded seam without disturbing the textured surface on the finished side of the slab.
First I cut a 90 degree along the base.
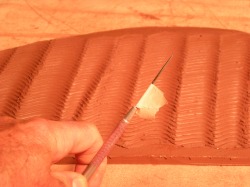
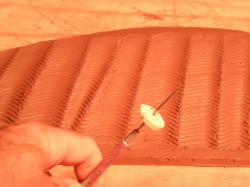
The next step is setting up the needle tool so that it only cuts about two thirds of the way through the slab. This can be done by using a piece of tape as a "stop" to limit how far the needle tool extends from the sliding cutter. An eight of an inch slice from a wine bottle cork is also a good stop material and more easily adjustable than tape.
Flip the textured slab over and define the vertical seams of the object. Cut a "v" groove centered on the seam line by cutting bevels in both directions. In the photo below 30 degree angles were cut on either side of the seam line.
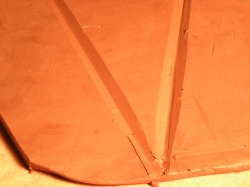
The "v" grooves are scored, brushed with slip and the slab is folded. This leaves the textured surface in tact with little or no touch up from stretching.
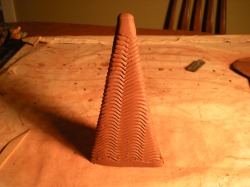
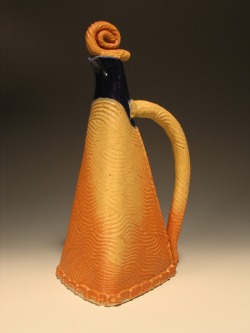
The finished product.
#3 - 30 degree angle creates an equilateral triangle
#4 - 45 degree angle creates a rectangle
#5 - 54 degree angle creates a pentagon
#6 - 60 degree angle creates a hexagon
#7 - 64.2 degree angle creates a heptagon
#8 - 67.5 degree angle creates an octogon
#9 - 70 degree angle creates a nonagon
#10 - 72 degree angle creates a decagon
#11 - 73.6 degree angle creates hendecagon
#12 - 75 degree angle creates a dodecagon
The un-numbered hole nearest the rulers edge
is a 90 degree angle